With a touch of creativity and a sprinkle of nature’s charm, crafting your own coconut shell ring is not just a DIY project—it’s a journey into the realm of sustainable elegance. Imagine wearing a piece of jewelry that not only reflects your unique style but also carries a story of environmental consciousness and artisanal flair. In this guide, we will unveil the art of transforming a humble coconut shell into a statement ring that is as individual as you are. Get ready to embark on a crafting adventure that blends nature’s beauty with your personal touch. Let’s begin this enchanting journey together!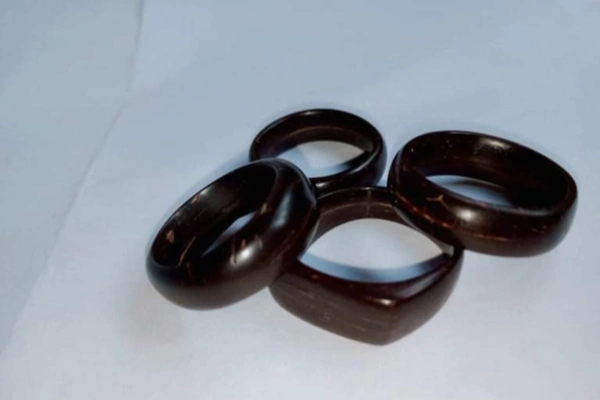
Materials
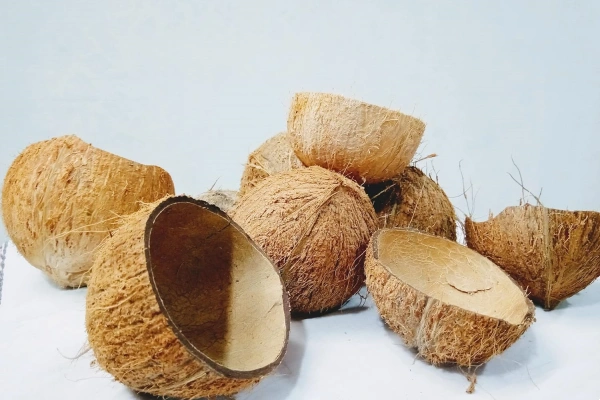
- Coconut shell
- Sandpaper (various grits)
- Pencil
- Ruler
- Saw
- Drill
- Varnish or polish (optional)
Instructions
-
Prepare the Coconut Shell:
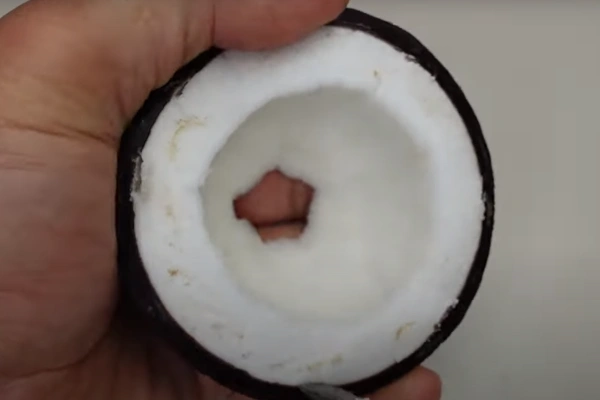
Start by cracking open a coconut and removing the white flesh from the shell. Rinse the shell thoroughly to remove any remaining coconut pieces.
-
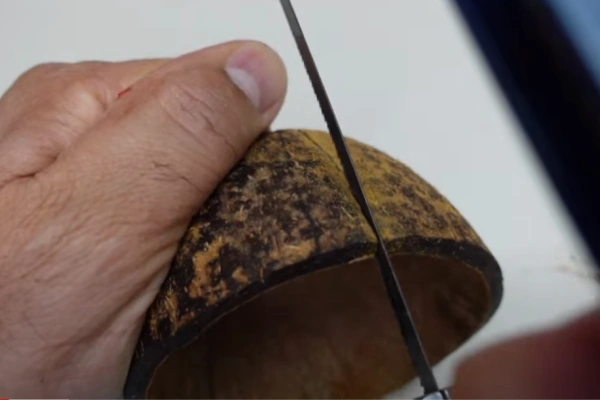
Cutting the Shell:
Use a saw to carefully cut out a section of the coconut shell that is large enough to work with. You can sketch the shape of your ring on the shell using a pencil and ruler before cutting.
-
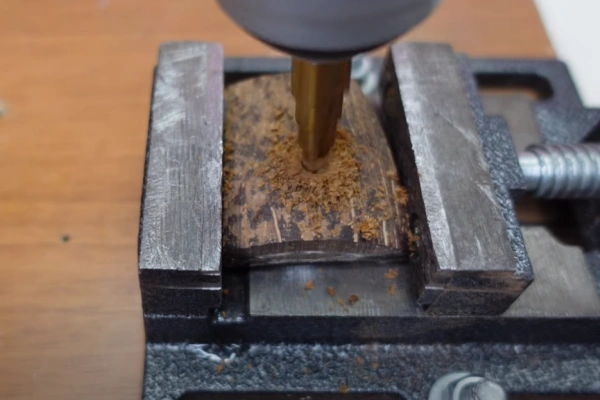
Drilling a Hole:
If you want to add a ring base, drill a small hole in the center of the coconut shell ring. Make sure the hole is the right size for the ring base you plan to use.
-
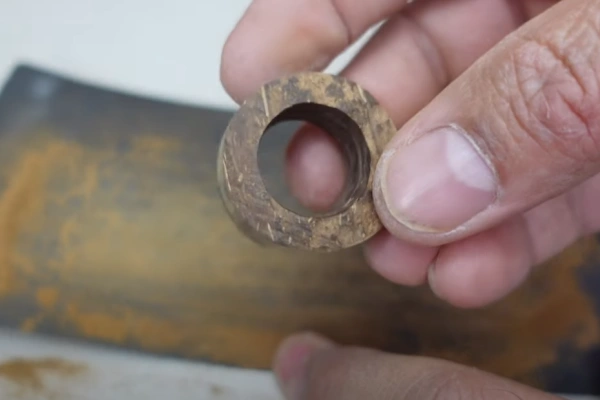
Shaping the Ring:
Use sandpaper of varying grits to shape the coconut shell piece into the desired ring shape. Start with a rough grit to remove excess material and then move to finer grits for smoothing and shaping.
-
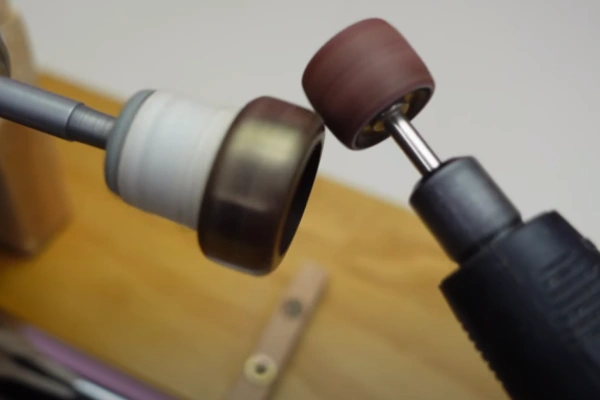
Finishing Touches:
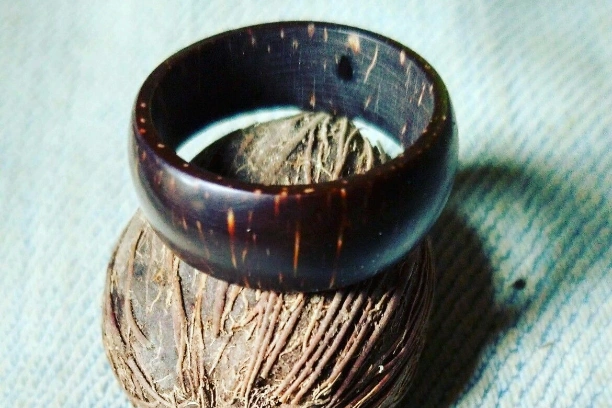
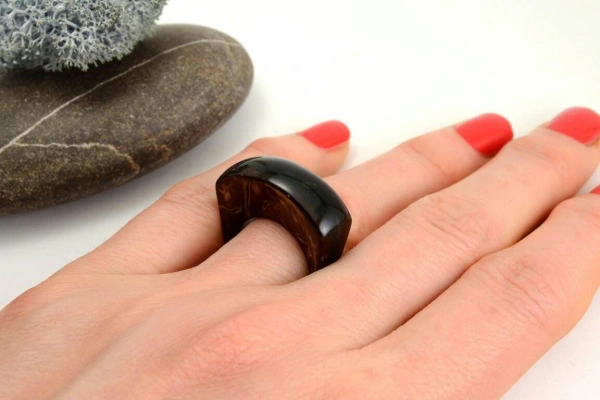
Once you are satisfied with the shape of the ring, you can polish it using varnish or polish to give it a shiny finish. This step is optional but can enhance the appearance of the ring.
Safety Precautions
-
Safety First: When using cutting tools and grinding equipment, always wear appropriate safety gloves and goggles to prevent accidents.
-
Choose the Right Tools: Make sure to use tools suitable for the materials, such as sharp knives for cutting coconut shells and drill bits for drilling. Using the correct tools ensures work efficiency and safety.
-
Handle Coconut Shells with Care: Coconut shells can have sharp edges, so be cautious to avoid skin abrasions during the operation. Secure the coconut shell properly during cutting and grinding to prevent slipping.
-
Fine Sanding: Sanding is a crucial step. Ensure the coconut shell surface is smooth and even for the subsequent addition of the ring base or decoration. Careful sanding can make the ring more refined.
- Ring Base Selection: When choosing a ring base, make sure to select the appropriate size and material for comfort and durability of the ring.
Making coconut shell rings is a fun and creative craft project that allows you to showcase your skills and imagination while connecting with nature. Each coconut shell ring is unique, carrying your thoughts and unique style. Whether as personal accessories or gifts for friends and family, these handmade rings will convey your care and love.
After completing the project, you may want to gently wipe your coconut shell rings with a clean, soft cloth to maintain their shine and beauty. Display them in a ring box or wear them on your fingers, letting them become your unique accessories, reminding you of the joy of creation and the wonderful experience of living in harmony with nature.
We hope you have enjoyed the process of making coconut shell rings and gained a sense of satisfaction. Feel free to unleash your imagination and enjoy this creative journey! Thank you for your participation and support!