Get ready to embark on a journey of culinary alchemy with our guide to DIY Fermented Honey Garlic. Transform ordinary garlic cloves into a flavorful and healthful condiment through the magic of fermentation. This ancient preservation technique not only enhances the taste profile of garlic but also unlocks its health benefits. Discover the tangy, sweet, and slightly fizzy notes that develop as garlic undergoes fermentation in a luscious blend of honey. With just a few simple ingredients and a bit of patience, you can elevate your meals, boost your immune system, and tantalize your taste buds with this homemade fermented honey garlic. Let’s dive into the realm of fermentation and explore the incredible flavors waiting to be unlocked.
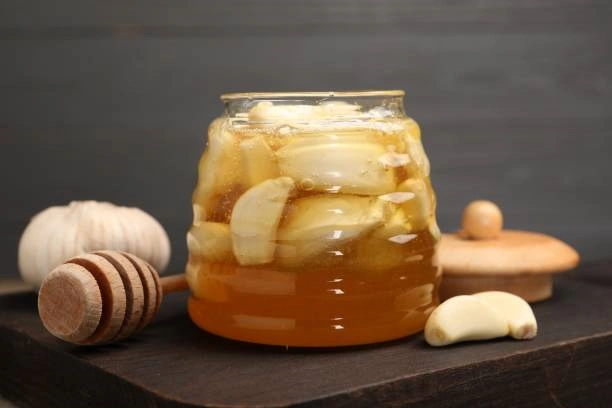
What are the benefits of Fermented Honey Garlic?
Fermented honey garlic boasts numerous health benefits that are derived from the combination of honey, garlic, and fermentation. Garlic is known for its antibacterial and anti-inflammatory properties, making it a potent natural remedy for respiratory and digestive ailments. Adding in honey, which has antibacterial, antiviral, and anti-inflammatory properties, creates a powerful combination that can help to combat infections, soothe sore throats, and boost the immune system. When fermented, the mixture undergoes a transformative process that enhances the beneficial properties of both garlic and honey. Fermentation helps to increase the bioavailability of nutrients, making them easier for the body to absorb and utilize. This results in a potent probiotic-rich food that can support gut health, improve digestion, and reduce inflammation throughout the body. Fermented honey garlic is a delicious and versatile ingredient that can be added to numerous dishes, sauces, and marinades, making it an easy and enjoyable way to boost overall health and wellness.
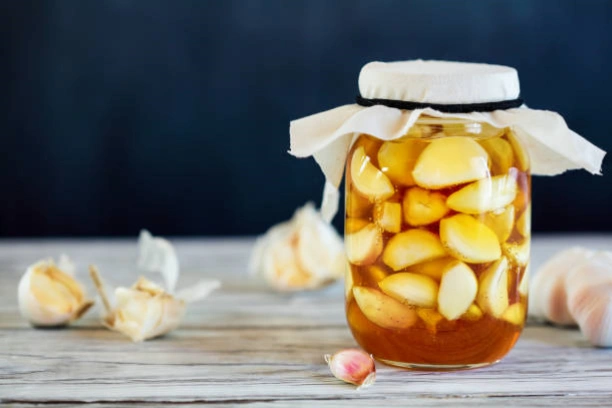
Ingredients:
- 1 cup whole garlic cloves (peeled and slightly crushed)
- 1 cup raw honey or more (as needed to cover garlic)
Instructions:
- Place the peeled garlic cloves into a wide-mouth pint-sized Mason jar.
- Add enough honey to completely cover the garlic cloves, ensuring they are well-coated.
- Loosely place the lid on the jar and store it in a dark place.
- Every day or so, tighten the lid and flip the jar upside down to coat the garlic cloves with honey. Loosen the lid again when you return it to the upright position.
- Within a few days to a week, small bubbles should start to form on the surface of the honey.
- The honey garlic will ferment for about a month, but you can eat it at any time. The flavor will continue to develop over time, with the garlic mellowing and the honey becoming runnier.
- Store in a cool place for many months or even a year, if not longer.
Some inportant tips:
1.Prepare the garlic
The hardest and most time-consuming part is prepping all of the garlic. Regardless of the jar size, fill it about 1/2 to 3/4 full with peeled garlic. The quickest and easiest way to prep garlic is to place the side of a chef’s knife on top of a single clove and give it a firm whack with the palm of your hand. Don’t do it too hard, as you don’t want to crush the garlic, just enough to lightly bruise it. This will make it easy to peel and also release a bit of the garlic juice.
2.Add the honey
After packing your jar with a sufficient amount of garlic, pour raw honey over it until it’s fully covered. Expect the garlic to float a bit, and that’s perfectly normal. Using raw honey for fermenting garlic is crucial, as it retains the essential bacteria and wild yeast required for fermentation. The introduction of liquid to honey kick-starts the fermentation process. The garlic’s minimal juice content will produce adequate liquid for the fermentation to commence smoothly.
3.Cover and flip
Loosely cover the jar with a lid to allow gases to escape, and place it in a dark location to undergo fermentation. Consider placing a plate or similar item under the jar during fermentation, as it may bubble up and honey could potentially leak out. Ensure that all of the garlic stay coated with honey by gently turning the jar over daily or periodically. Before doing so, screw the lid on tightly, then revert it to its original position and loosen the lid again.
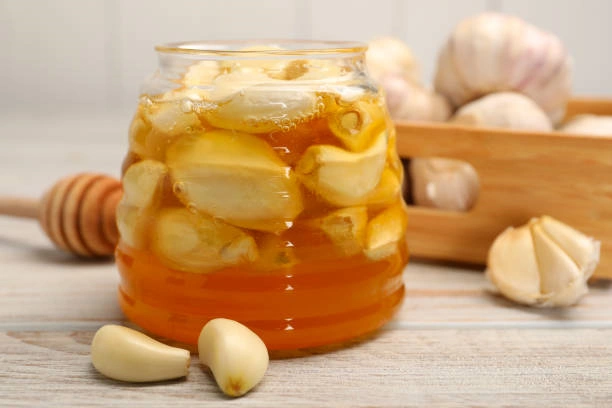
Attention:
- Use raw honey for this recipe, as it contains the necessary bacteria and wild yeast for fermentation.
- The small amount of juice released from the garlic will create just enough liquid for the fermentation process.
- It’s advisable to place a plate under the jar during fermentation, as it may bubble up and some honey might drip out.
- Occasionally, the garlic cloves may turn a bluish or greenish color during fermentation. While this might look concerning, it’s not harmful, and the honey garlic can still be used.
- If you are worried about botulism, use a pH test strip. Botulism spores cannot reproduce at a pH lower than 4.6. Honey typically has a pH around 3.9, though this can vary between brands.
- If the pH is too high, add a splash of raw apple cider vinegar to increase acidity and retest. This step is generally unnecessary, but it’s worth noting.
- Do not give honey garlic to babies under one year of age.









Leave a Reply